Řadič Arduino
Arduino is not one specific microcontroller, but an ecosystem of boards, libraries, examples, and development environment. When a newcomer says "Arduino," they usually mean Arduino Uno, Nano, or a compatible board based on ATmega328P.
For education, Arduino is still very useful: it is easy to understand GPIO, buttons, LEDs, PWM, analog input, I2C, SPI, and simple sensors. But for a new device around a 3D printer, Arduino Uno/Nano is not always the best choice.
Why Arduino is popular
Strengths of Arduino:
- lots of educational materials;
- simple Arduino IDE;
- many ready-made libraries;
- understandable examples like Blink;
- convenient to quickly test a sensor on the desk;
- easy to find compatible modules;
- old boards are well documented.
If the goal is to understand the basics of microcontrollers, Arduino is good. It lowers the barrier to entry and lets you see results quickly.
Arduino as an educational board
Arduino is convenient for:
- testing a button, limit switch, or sensor;
- simple thermistor test via a voltage divider;
- testing I2C OLED;
- testing SPI RFID module;
- generating PWM for a small test;
- reading analog voltage;
- quick experiments on a breadboard.
In this mode, Arduino is an excellent lab tool. You don't need to build a final device on it: you can first understand the circuit and sensor, then transfer the solution to ESP32, RP2040, STM32, or a printer board.
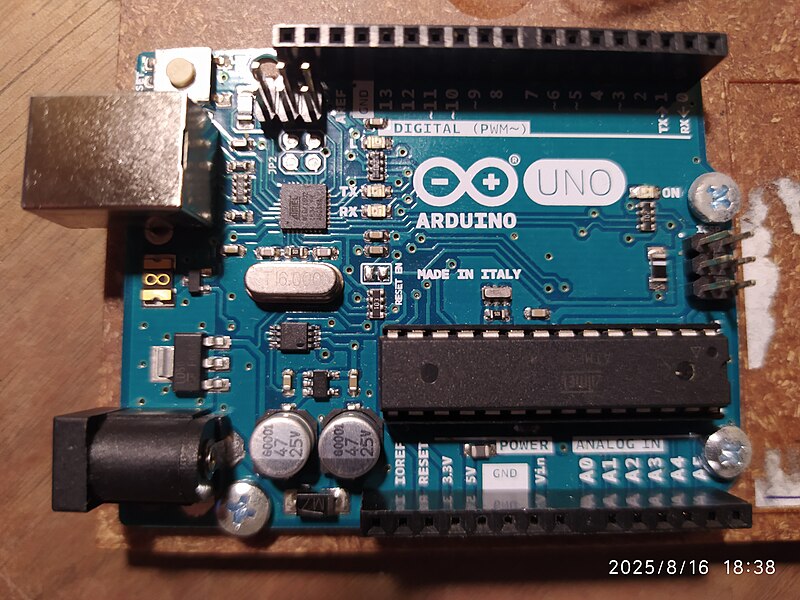
Uno and Nano in a nutshell
Classic Arduino Uno and Nano are usually based on ATmega328P.
Typical characteristics:
5Vlogic;- 16 MHz clock;
- 32 KB flash memory;
- 2 KB SRAM;
- 14 digital pins;
- 6 PWM pins on Uno/Nano class;
- 6 analog inputs on Uno, 8 on Nano;
- USB for flashing and powering the board.
This is enough for educational sketches and simple standalone tasks, but not enough for complex logic, networking, web interface, large libraries, and convenient integration with modern systems.
Original, clone, and Arduino-compatible
You need to distinguish:
- original Arduino boards;
- cheap Uno/Nano clones;
- Arduino-compatible boards based on other microcontrollers;
- modern Arduino boards with Wi-Fi, USB-C, Arm chips, and other logic.
A Nano clone for a few dollars can be fine for experiments, but the quality of the USB-UART, regulator, soldering, and bootloader may vary. Sometimes for a Nano clone in the Arduino IDE you need to select an old bootloader or a different processor.
If the device must work for a long time without supervision, board quality, regulator, connectors, and documentation are more important than the lowest price.
5V logic
Old Arduino Uno/Nano use 5V logic.
This is convenient with some old modules, but dangerous for 3.3V devices:
- ESP32 usually cannot tolerate
5Von GPIO; - many OLED, RFID, sensors, and radio modules are designed for
3.3V; - I2C pull-ups to
5Vcan damage a3.3Vdevice; - some module inputs are compatible with
5V, but this needs to be checked in the documentation.
If Arduino is connected to a 3.3V module, you need a level converter or a circuit where levels are known to be compatible.
GPIO does not power loads
An Arduino pin can light an LED through a resistor or provide a control signal. It should not power a fan, heater, servo, relay, or LED strip directly.
Typical circuit:
Source: Wikimedia Commons, HonCode, CC0 Public Domain
For loads you need:
- MOSFET or driver for DC fan, LED strip, or DC heater;
- transistor driver and protective diode for relay coil;
- SSR or relay for AC network load;
- separate power for servo;
- common GND where required by the low-voltage circuit.
GPIO is a command, not a power output.
PWM and analogWrite
In Arduino, analogWrite() on Uno/Nano usually means PWM, not true analog output. The board quickly switches the pin on and off, changing the signal duty cycle.
This is suitable for:
- LED brightness;
- control input for a driver;
- simple PWM for a fan or MOSFET module;
- educational experiments.
But there are limitations:
- PWM is not available on all pins;
- PWM frequency is fixed or changes in non-obvious ways;
analogWrite()andanalogRead()are different things;- a 4-pin PC fan may require a different frequency and proper open-collector/open-drain approach;
- heaters and SSRs cannot just use any fast PWM without understanding the power section.
Analog inputs
Arduino Uno/Nano is convenient for simple analog measurements:
- potentiometer;
- thermistor via voltage divider;
- light sensor;
- simple voltage sensor via voltage divider.
But an analog input should not see voltage above its safe range. For Uno/Nano this is usually the range relative to 5V power or selected AREF. If measuring higher voltage, you need a divider and protection.
For accurate temperature measurements, you need not just analogRead(), but also:
- correct voltage divider circuit;
- resistor value;
- thermistor table or Beta parameter;
- stable power/reference voltage;
- noise filtering;
- mechanical sensor contact with the object.
Arduino and Klipper
Some old AVR boards may historically be found near 3D printers, but for a new device around Klipper it is better not to start with Uno/Nano.
Reasons:
- limited memory;
- weak performance;
- 5V logic can interfere with modern
3.3Vmodules; - no networking without additional modules;
- not the most practical path for a new Klipper MCU.
If you need an additional MCU for Klipper, it is usually more practical to look at RP2040, STM32, or a ready-made 3D printer board. Arduino can be kept for education, breadboarding, and testing individual sensors.
When Arduino is still appropriate
Arduino is appropriate if:
- you need to quickly test an idea;
- you need to explain how something works;
- the device is very simple and does not need networking;
- you already have a working sketch;
- clarity is more important than compactness and performance;
- this is an educational bench, not final power electronics.
Arduino is not a good choice if:
- you need Wi-Fi out of the box;
- you need tight integration with Klipper;
- you need a lot of memory;
- you need many modern
3.3Vsensors; - the device must be compact, long-lived, and industrially neat;
- there is a power section with a heater where independent protections are important.
What to check before buying
Before buying an Arduino-compatible board, check:
- whether it is an original, clone, or compatible board;
- which microcontroller is installed;
5Vor3.3Vlogic;- which USB-UART chip is used;
- whether there is a driver for your computer;
- which bootloader is needed;
- how much flash and SRAM;
- how many PWM and analog inputs;
- whether there is a schematic and pinout;
- quality of power regulator and connectors;
- whether the board is suitable for the final task.
Common mistakes
- thinking Arduino is one specific board;
- connecting
5VArduino directly to3.3Vmodule; - powering a load from GPIO;
- powering a servo from the
5Vpin and getting resets; - using
analogWrite()as a true analog output; - selecting the wrong bootloader for a Nano clone;
- not installing a driver for the USB-UART;
- trying to build a modern networked device on Uno without reason;
- transferring an educational breadboard into a closed power device without reworking power, wiring, and protection.
Key points
Arduino is a good educational ecosystem and a convenient tool for quick tests. It is great for understanding GPIO, PWM, ADC, and sensors.
But classic Uno/Nano are old 5V boards with limited memory and no networking. For a new device around a 3D printer, ESP32, RP2040, STM32, or a ready-made printer board is often more practical, leaving Arduino as an educational and diagnostic tool.
Related materials
- Arduino Docs: UNO R3 — official Uno R3 specifications: ATmega328P,
5V, pins, PWM, analog inputs, and board resources. - Arduino Store: UNO Rev3 Tech Specs — table with voltage, GPIO current, memory, frequency, and board dimensions.
- Arduino Store: Arduino Nano — Nano specifications, power, memory, digital and analog pins.
- Arduino Help Center: Select the right processor for Arduino Nano — why Nano and Nano clones may have different bootloaders.
- Arduino Language Reference — official reference for
pinMode,digitalWrite,analogRead,analogWrite, PWM, and basic functions. - Arduino Help Center: Use PWM output with Arduino — list of PWM pins for popular boards and limitations of
analogWrite().